Get started and connect your platforms, set up client context, and link Claude.
A quick walkthrough to get you set up and working.
1. Connect your ad accounts to Hypd
Connect your marketing platform (Google Ads, Merchant Center, Meta soon) in Hypd by providing access via the API. After you've connected the account, you can select the ad accounts you want to grant access to.
So if you connect an MCC, you can later choose to connect only selected ad accounts.
FYI for Google Ads: We only use read-only permissions — the AI Agent can't make any changes to the account. We do request edit rights when you connect your Google Ads account, because Google doesn't provide a "read-only scope" for their API.
You can do this on your clients page.
2. Set up Claude Cowork and opt out of "Model Improvements"
Download the Claude desktop client if you haven't yet. Claude Desktop is far more capable than using Claude in the browser.
We recommend working mainly in Claude Cowork (rather than the standard Claude desktop chat or Claude Code). It delivers the most value for this kind of work.
We also recommend opting out of model training in your Claude data privacy settings to make sure your clients' data can't be used for training under any circumstances.
Go to "Settings" -> "Privacy" -> uncheck "Help improve our Models".
3. Adding Hypd to Claude
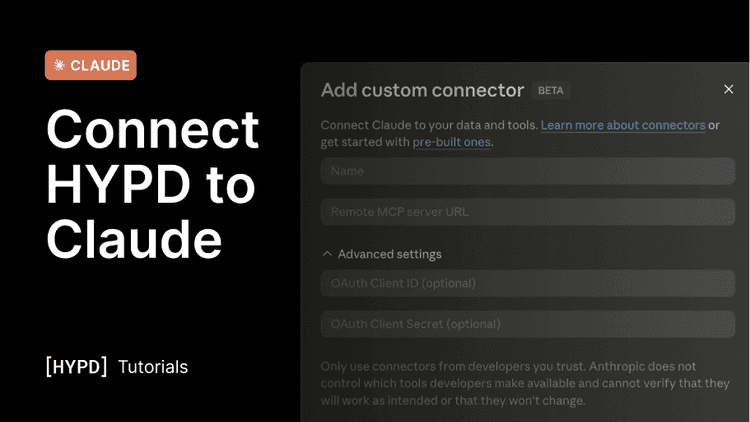
In the Claude app, go to "Customize" -> Connectors and click "Add custom connector".
Name: Hypd
Server URL:
Once you've added the connector, click "Connect" and sign in with your hypd.ai account — or, if you're already signed in, you'll be redirected automatically.
4. You're (technically) ready to go
Technically, you're ready to go. For the best results, we'd recommend setting up a few best practices before you get started.
See the next article, Best Practices: Working in Projects, Managing Context & Prompts, to learn how to work in projects, use our pre-made prompts, and manage client context for better results.
If you want to get started right away, try one of these prompts: